Effective Ways to Remove an Invisible Splinter
Understanding Invisible Splinters
Invisible splinters can be tricky and painful to deal with. They often elude the eye, making it difficult to pinpoint their exact location. In this section, we will delve into how to find a splinter that might be embedded in your skin and discuss the signs that indicate there may be a splinter present, such as pain or inflammation. Awareness of the location and symptoms can guide you toward the appropriate invisible splinter treatment.
Identifying Hidden Splinters
The first step in removing a splinter you can’t see is to properly identify where it might be located. If you’re experiencing discomfort but can’t see the splinter, consider examining the area closely. A visual inspection for splinters can sometimes reveal redness or swelling that indicates trouble. Gently pressing surrounding skin may also help how to pinpoint splinters if they are lodged deep within. Utilizing good lighting and a magnifying glass can often enhance visibility for better inspection.
Common Symptoms of a Splinter Infection
If the splinter isn’t visible, additional symptoms can indicate a need for immediate splinter care. Watch out for signs of infection, which include increased redness, pus formation, or escalating pain in the affected area. If you suspect an infection, it may be crucial to consult with a healthcare professional as untreated splinters can lead to serious complications, including abscesses.
Effective Splinter Removal Techniques
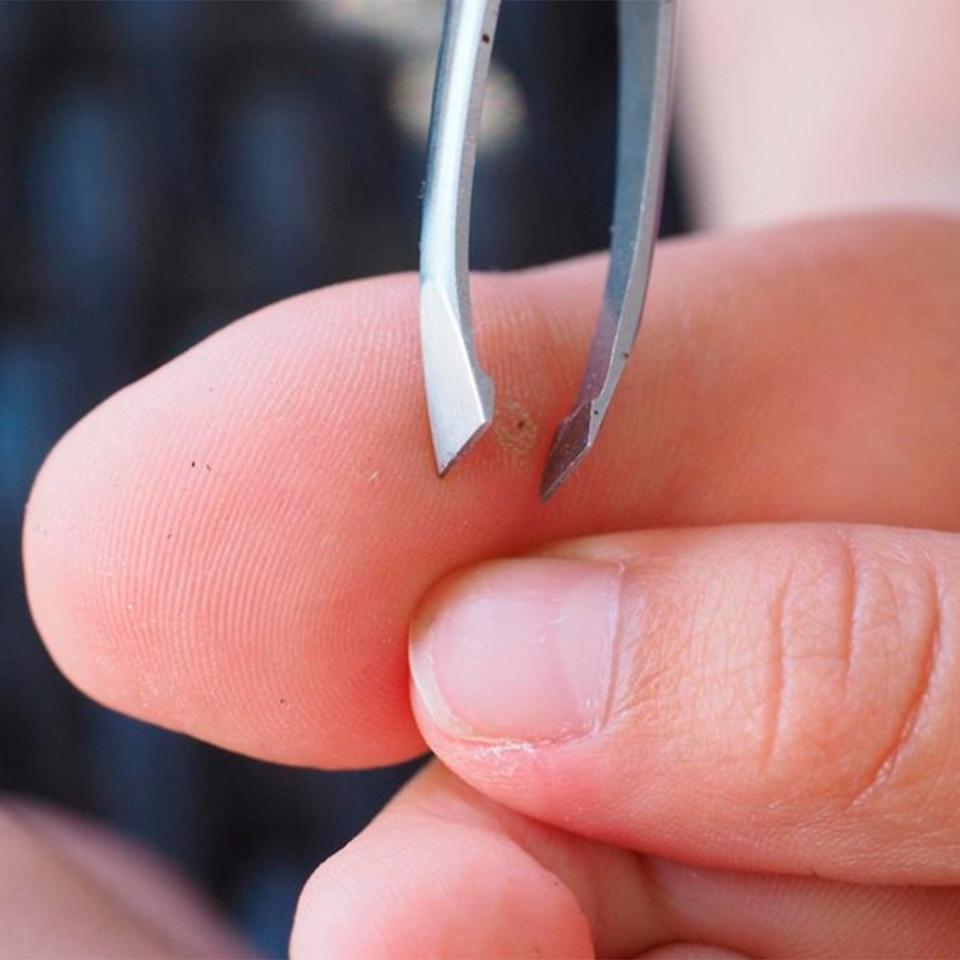
Once you’ve identified that you have a splinter, knowing the best splinter removal techniques is essential. There are various ways to extract stubborn splinters effectively and safely. This section provides you with several methods and tools you might use.
Using a Needle for Splinters
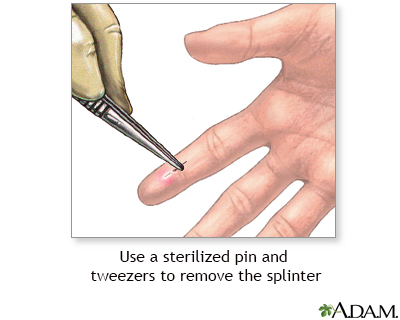
If you are dealing with stubborn or deep splinters, the needle technique could be beneficial. Start by disinfecting the needle with alcohol. Then, gently scratch the skin’s surface over the splinter with the tip of the needle to get it exposed—just enough that you can grab it. This splinter extraction method allows for precise extraction. Post-removal, remember to clean the wound thoroughly and apply a topical antibiotic cream to reduce the chance of infection.
Adhesive Tape Method for Splinters
Another splinter removal hacks is the adhesive tape method. Take a piece of strong adhesive tape and press it firmly against the splinter area. When you rip the tape away quickly, it can sometimes remove the splinter without additional pain. This method particularly works well for surface splinters and is ideal for children who may not want typical methods like needles used on them.
Soaking Method for Removing Deep Splinters
If the splinter is more embedded and painful, how to soak splinters out can help soften the skin and allow easier extraction. You can prepare a saltwater solution or use warm soap and water. Soaking the affected area for about 20 minutes can help relax the tissue, sometimes allowing the splinter to work its way out. Always remember to dry the area thoroughly after soaking.
Aftercare for Splinter Removal
Proper aftercare is just as critical as the removal process itself. Engaging in effective splinter care after extraction help prevent complications and promote healing. Here, we’ll highlight the essential steps to ensure proper recovery.
How to Relieve Splinter Pain
After removing the splinter, managing pain and discomfort is vital. You can use over-the-counter pain relief medications like ibuprofen or acetaminophen. Additionally, applying a cool compress to the site can help reduce inflammation and soothe irritation. Consider using essential oils for splinter pain relief like lavender or tea tree oil, as these are known for their anti-inflammatory and soothing properties.
Checking for Splinter Infection
It is essential to keep an eye on the area where the splinter was removed, monitoring for any signs of splinter infection such as increased redness, warmth, or pus. If any of these symptoms arise, it is recommended to consult with a medical professional to prevent complications.
Monitoring the Healing Process
Understanding the splinter healing process means knowing how to care for the wound as it heals. Keep the area clean and avoid picking at it. If you notice any unusual changes during healing, control immediate reactions by avoiding subsequent splinters in the affected area, and consult a healthcare professional if necessary.
Preventing Future Splinter Incidents
Taking measures to avoid returning or new splinters can save you much discomfort in the long run. In this section, we’ll discuss practical steps to ensure preventing splinters in your daily activities.
How to Avoid Splinters in Everyday Activities
When involved in activities involving wood or objects that can create splinters, consider wearing thick gloves to reduce the risk. For woodworkers or hobby crafters, utilizing proper techniques and tools minimizes potential splinter risks in their projects. By protecting your hands and remaining cautious, you can significantly lower the chance of having to deal with dealing with stubborn splinters.
Understanding Common Splinter Types
Many splinter types vary, including wooden, plastic, glass, and metal. Understanding what materials you are commonly handling can uniquely inform you on the best practices for preventing splinter complications and equip you with the right tools for safe handling. If you know what causes most splinter occurrences, you can take preemptive action to avoid injuries.
Splinter Safety Tips
Having a splinter first aid kit ready in your home can make handling this common injury much easier. It should contain sterilized needle and tweezers, antiseptic wipes, adhesive bandages, and some pain relief. When splinters happen, treating them promptly and correctly can help avoid lengthy recovery times and painful complications.
Key Takeaways
- Identifying and treating splinters promptly can prevent infection.
- Employ various techniques like adhesive tape and soaking to aid effective removal.
- Proper aftercare is crucial in managing pain and facilitating healing.
- Preventive measures can lower the risk of future splinter injuries.
FAQ
1. What are some effective home remedies for splinters?
Home remedies such as using saltwater baths, adhesive tape, and applying essential oils may aid in splinter removal and irritation reduction. Saltwater soaking relaxes the tissue, while oils like tea tree aid healing. Always clean the area properly to prevent infection.
2. When should I consider seeing a doctor for splinter removal?
Consulting a doctor is advisable if you notice persistent pain, signs of infection, or are unable to remove a visibly embedded splinter. Additionally, if a splinter was from a potentially contaminated material, professional assessment is crucial.
3. What are the signs of splinter infection?
Signs include redness, warmth, swelling, pus formation, and increased pain at the site. If any of these symptoms occur, seek medical attention promptly to address potential infections.
4. How can I manage splinter pain effectively?
Pain management techniques may include over-the-counter pain relief medications, applying cold compresses, or using natural remedies like essential oils known for their anti-inflammatory properties.
5. Are there special splinter removal tools I should have at home?
Having a needle, tweezers, adhesive tape, antiseptic wipes, and gauze or adhesive bandages in your first aid kit can prepare you for effective splinter removal. Ensuring these tools are clean and easily accessible can facilitate timely treatment.
6. What can I do to prevent splinters while woodworking?
When woodworking, always wear gloves, use sanders to smooth rough edges, and remain aware of your surroundings. Proper handling of tools and protective measures are effective ways to reduce splinter occurrences.
7. What are some emotional impacts of splinters?
Experiencing a splinter pain can evoke discomfort and anxiety in some individuals. Managing this fear involves understanding the context of splinters equally as they arise and determining well-practiced care techniques.