5 Effective Methods for Building a Workbench in 2025: Discover Essential Tips
Creating a sturdy and functional workbench is an essential project for any woodworking enthusiast or DIYer. In 2025, building a workbench has become more accessible than ever with numerous designs and ideas tailored for different needs. This guide shares five effective methods for building a DIY workbench that suits your workspace, taking into account various workbench materials, tools, assembly techniques, and smart design ideas.
Selecting the Right Workbench Materials
Before diving into your construction project, choosing the right materials is crucial for your workbench’s durability and function. Common choices for workbench materials include plywood, hardwood, and MDF, each bringing unique benefits. For instance, hardwoods like maple provide strength and aesthetics, while plywood is cost-effective and versatile. Consider the intended use of your workbench—whether for heavy-duty tasks or simple hobby projects—to determine the best materials for your bench top workbench.
Wood Types for Workbenches
When constructing a workbench, selecting the right wood type greatly influences the workbench’s longevity. Oak and maple are popular choices due to their strength and resistance to wear. For craft-specific workbench ideas, softer woods like pine can be suitable, especially if you’re working on projects that don’t require heavy impacts. Mixing different wood types can also introduce creative patterns and enhance the aesthetics of your workspace.
Cost-Effective Options for Materials
Budget constraints shouldn’t hinder your workbench project. Many DIYers opt for recycled or second-hand materials to keep costs down. Pallet wood, for example, can serve as a durable and rustic base for a garage workbench. Likewise, combining affordable materials such as plywood with sturdy legs from a more substantial wood can yield a functional and attractive workbench that fits various DIY projects, all while saving money.
Choosing Durable Surface Finishes
The surface of your workbench is paramount to maintaining its condition over time. Applying a protective finish, such as polyurethane or a blend of mineral spirits and linseed oil, shields against scratches and stains. This finish is particularly recommended for workbenches for crafts and woodworking, as it enhances the wood’s natural grain and provides a slick work surface for assembly tasks. Regularly maintaining the finish can prolong the life of your workbench significantly.
Designing Your Workbench Layout
Effective workbench design enhances efficiency and aesthetics within your workspace. When planning your workbench setup, consider the layout in relation to the tools you will use. A functional multi-purpose workbench integrates several work areas while adhering to optimal dimensions that suit your height and working style. Understanding workbench dimensions can provide additional comfort and improve productivity.
Space Considerations and Dimensions
When designing your workbench, determining the available space is crucial. For smaller areas, consider compact workbench designs, or even a folding workbench. Alternatively, if you have ample room, an adjustable or heavy-duty workbench can accommodate various tasks and enable tool organization. Make sure the height is ergonomic to prevent strain during extended use—the ideal height typically falls between 28 and 36 inches, depending on your personal height and work style.
Functional Accessories and Storage Solutions
Integrating practical accessories can significantly enhance the usability of your workbench. A workbench with storage compartments can help organize tools and materials effectively. Incorporate pegboards for tool organization, clamps for stability, and consider adding mobile features if you plan to relocate your workbench frequently. Customizing your workbench with accessories makes it adaptable for various projects, ensuring that your workshop environment remains clean and efficient.
Adapting to Your Workflow
Your workbench layout should be adapted to support your specific workflow and tasks. For example, placing your most frequently used tools within easy reach will minimize movement and speed up your processes. This is essential whether you are engaged in woodwork projects, electronics repair, or crafting. Create zones—one for cutting, another for assembly, and a final area for sanding or finishing—that help organize your tasks effectively.
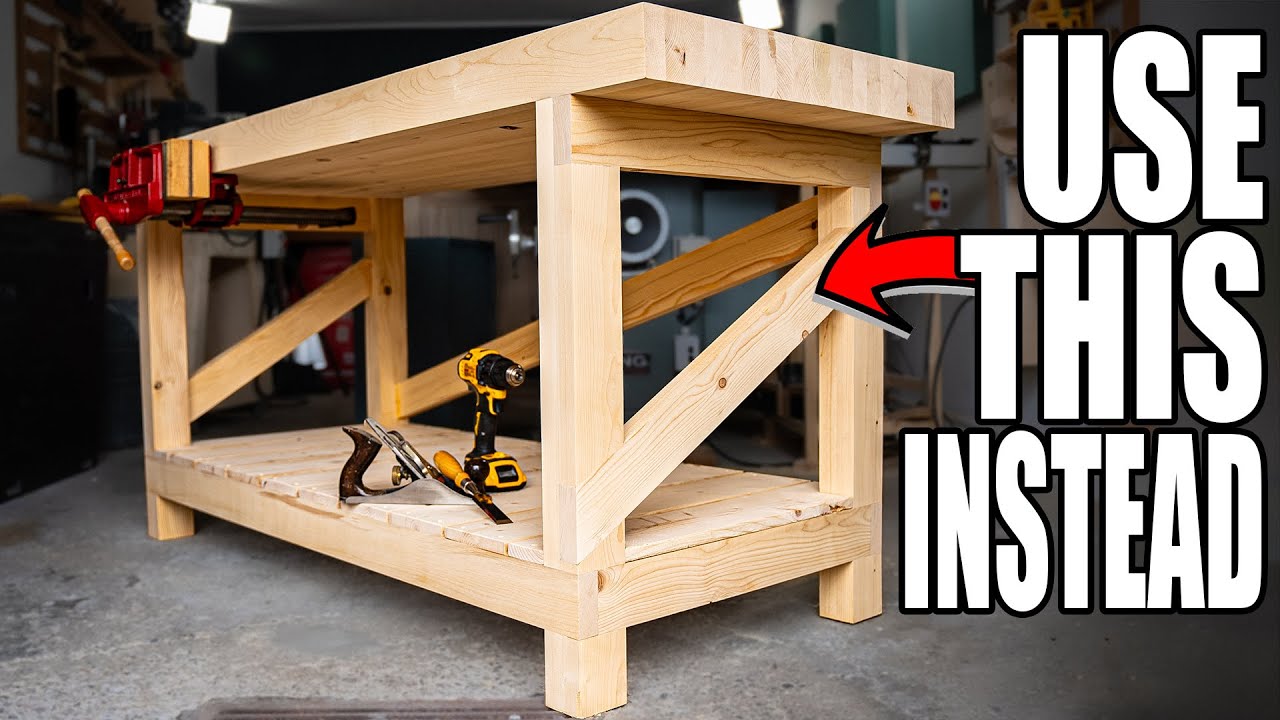
Assembly Techniques for a Sturdy Workbench
Proper assembly techniques can greatly enhance the stability and longevity of your workbench. Assembling your workbench with precision ensures that the structure is solid and ready to withstand heavy use. Depending on your skill level and resources, you may employ a variety of methods—plywood screws, wood dowels, or even pocket holes are viable options for joining materials effectively.
Step-by-Step Workbench Assembly Guide
Start by cutting your materials to the desired dimensions outlined in your workbench plans. Assemble the frame first; ensure all joints are square by using clamps. Begin attaching the desktop, which acts as the main working surface. If you’re working on a mobile workbench, adding wheels at this stage can be beneficial. Always check for stability after assembly and consider reinforcing joints with additional hardware.
Tools Needed for Assembling Your Workbench
Having the right tools is fundamental for successful assembly. Essential tools for your workbench project include a drill, a circular saw, a level, and various clamps. As you tackle assembly, take the time to clean each surface before applying adhesives or fasteners. This attention to detail can dramatically improve your final product, making your workbench assembly not only easier but ensuring a quality end result that stands the test of time.
Workbench Safety Tips During Assembly
When working on your workbench, safety should be paramount. Always wear appropriate safety equipment, such as goggles and ear protection. Additionally, ensure your workspace is well-ventilated, especially when working on projects that involve adhesives or power tools. Familiarize yourself with tool safety techniques associated with each tool, and never rush the assembly process—precision and caution during assembly yield the most fruitful results.
Incorporating Innovative Workbench Features
As the woodworking world evolves, embracing innovative features into your workbench can enhance your projects’ efficiency and creativity. Here are some ideas for customizing your workbench to suit modern demands and design aesthetics.
Integrating Technology into Your Workbench
Incorporating technology into your workbench can revolutionize how you work. Consider setting up power outlets or USB ports for charging tools or devices directly from your workbench. LED lighting can help illuminate your workspace effectively. Further improvements may include dedicated slots for tablets or laptops to follow instructional resources directly during your projects, providing an innovative approach to staying organized and informed.
Eco-Friendly Upgrades to Your Workbench
Using sustainable materials and adhering to eco-friendly practices are essential trends. Selecting environmentally responsible woods or reclaimed materials contributes to less wastage and aligns with modern values in woodworking. Additionally, using natural finishes ensures that your workbench remains safe for your health and the environment while also enhancing aesthetics with organic looks.
Creative Workbench Design Ideas
Breaking from traditional designs opens endless opportunities for personalized workspaces. Think about building workbenches with adjustable heights, foldable designs for mobility, and even wall-mounted workbench options for compact spaces. These innovative features underscore a focus on functionality while embracing the principles of creative and efficient workshop setup.
Key Takeaways
- Select appropriate materials for durability and functionality
- Understand workspace dimensions and layout for optimal efficiency
- Use proper assembly techniques and safety protocols for successful projects
- Incorporate innovative features for modern usability
- Embrace a DIY mindset to customize your workbench according to your unique needs
FAQ
1. What are the ideal dimensions for a workbench?
The ideal dimensions of a workbench vary based on user height and intended use, but generally, a height between 28 to 36 inches works well for most people. The width and length can range from 48 inches to 72 inches, depending on workspace availability and task requirements.
2. How can I maintain my workbench for longevity?
Maintaining your workbench involves regularly checking for loose screws or damaged surfaces. Clean the workspace after each use and periodically reapply protective finishes to protect against wear. Properly storing tools can improve your workbench’s durability over time.
3. Are there specific workbench designs for beginners?
Yes! Simple workbench designs, such as a basic rectangular frame with a sturdy tabletop, are perfect for beginners. Consider easy-to-follow workbench plans for beginners that outline materials and assembly steps clearly to guide you through your first project.
4. What’s the benefit of a mobile workbench?
A mobile workbench provides flexibility, allowing you to relocate it to different areas within your workspace. This is particularly beneficial for small spaces where you may need to fetch tools or adjust layouts periodically during your projects.
5. Can I add storage to my DIY workbench?
Absolutely! Consider incorporating shelves, cabinets, or tool drawers into your workbench design to enhance organization. A workbench with storage possibilities not only increases utility but keeps your workspace tidy and efficient.