How to Properly Screenshot on Keyboard: Essential Tips for 2025 Users
In the digital age, knowing how to effectively take screenshots is invaluable. Whether you’re sharing information, capturing important moments, or documenting technical issues, **screenshotting** is a skill every user should master. In this guide, we will explore various screenshot shortcuts tailored for Windows, Mac, and Chromebook users, alongside practical advice to streamline your process of capturing screen activity. Let’s delve into the essentials of taking screenshots using your keyboard.
Understanding Keyboard Shortcuts for Screenshots
Keyboard shortcuts enhance productivity, allowing users to take screenshots efficiently without fumbling through menus. Familiarizing yourself with the right keyboard combination for screenshots can significantly improve your workflow. On most systems, common keys include ‘Print Screen’, ‘Alt + Print Screen’, and ‘Command + Shift + 4’ for macOS users. Understanding these shortcuts is crucial as they enable quick access to capture screen images in various formats.
Taking a Screenshot on Windows
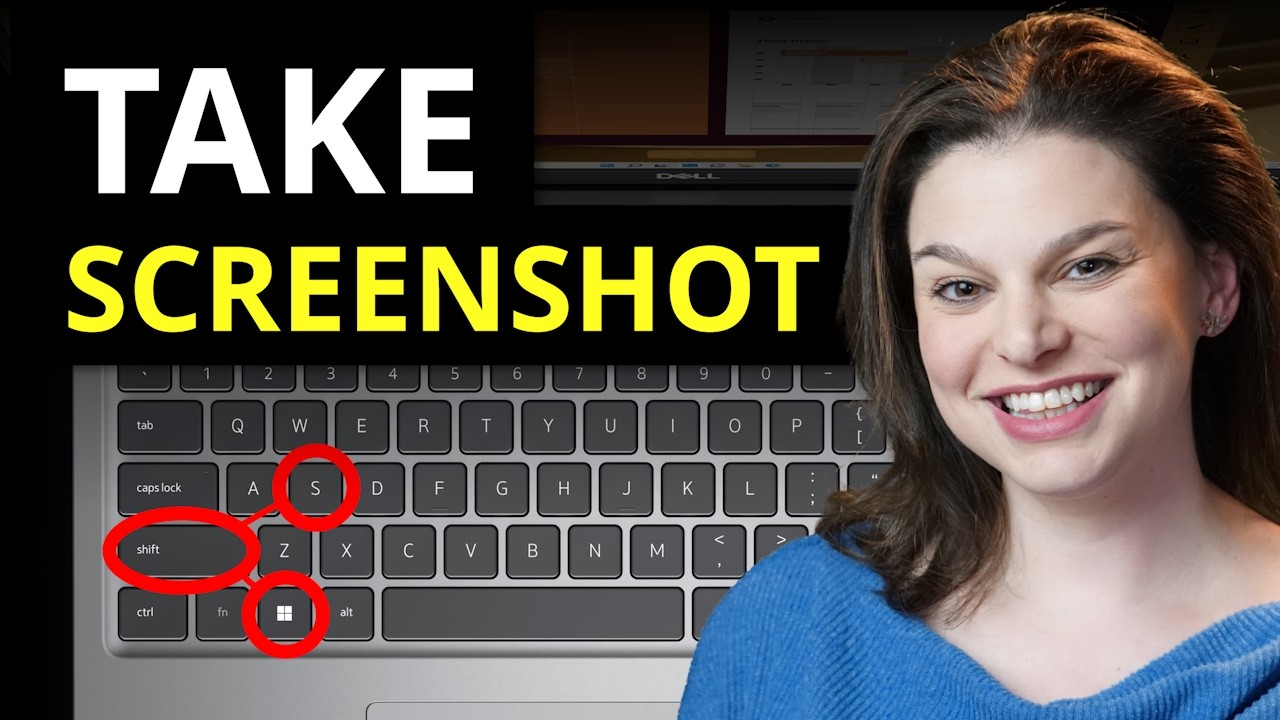
For Windows users, taking screenshots can be done through various methods using keyboard shortcuts. The most popular method is hitting the ‘Print Screen’ (often abbreviated as ‘PrtSc’) key, which captures the whole screen and copies it to the clipboard. To save the screenshot directly to your pictures folder, you can use ‘Windows Key + Print Screen’. For capturing only the active window, ‘Alt + Print Screen’ will suffice. Additionally, Windows offers the snipping tool screenshot feature, which allows for more precision in selecting specific areas of the screen. Follow these steps to take full advantage of Windows screenshot options.
Capturing Screenshots on Mac
When it comes to macOS, Apple has made capturing screenshots user-friendly. A simple way to achieve this is by using ‘Command + Shift + 4’. After pressing these keys, your cursor will change to a crosshair, enabling you to select the portion of the screen you wish to capture. Pressing ‘Command + Shift + 3’ will take a full-page screenshot instantly. Additionally, the built-in screenshot software presents various options, including the ability to edit and annotate screenshots immediately after capturing.
Screenshot Techniques for Chromebook
In the case of Chromebook users, the process to take a screenshot on keyboard is equally straightforward. Press ‘Ctrl + Show windows’ (usually a rectangle with two vertical lines next to it) to capture the whole screen. If you wish to take a partial screenshot, press ‘Ctrl + Shift + Show windows’, which allows you to select the area you’d like to capture. These methods are efficient in grabbing your screen, and the Chromebook automatically saves the screenshots in the Downloads folder for easy retrieval and sharing.
Practical Screenshot Advice and Tips
Moreover, knowing just how to screenshot is the first step; mastering the efficiency and effectiveness of the process can make a huge difference. Users should ensure their environments are screenshot-ready before capturing. This might involve closing unnecessary windows or rearranging icons for clarity. Moreover, it’s essential to consider the format in which you want to save your screenshot. Whether it’s JPEG or PNG depends on your needs—JPEG might be more suitable for photographs, while PNG is more used for graphics.
Edit and Annotate Screenshots Easily
After taking a screenshot, you often require some form of editing or annotation. Software like Snagit and the built-in editing features in macOS can be immensely helpful. This includes tools for cropping, highlighting, and adding text directly on your screenshots. Creating visually comprehensive screenshots enhances communication, especially when explaining concepts or processes. Focused annotations can draw attention to critical pieces of information, making your screenshots more effective in conveying your message.
Efficient Screenshot Utility and Applications
In addition to basic screenshot-taking methods, users may find it beneficial to explore various screenshot applications. Tools such as Lightshot and Greenshot not only facilitate capturing but also provide advanced features—like cloud sharing options and collaborative capabilities. These utilities also often allow for full-page screenshots or multiple screenshot options, making them excellent choices for more comprehensive screen capture needs.
Exploring Screenshotting Across Devices
Understanding how to capture screenshots on various devices will enhance your overall digital communication skills. Also, it’s worth noting that mobile devices come equipped with different ways to capture screens. For Android users, screenshots can typically be taken using the power button combined with the volume down button. On iOS devices, simply pressing the side button and volume up creates a quick and effective snapshot.
Capturing Screenshots on Android
For Android users, knowing how to effectively capture a screenshot can increase efficiency when sharing information. In most cases, pressing ‘Power + Volume Down’ will suffice. This method varies slightly depending on brands, but generally, the process is standardized among mainstream Android devices. Users can then find these images easily within the Gallery or Photos app.
Taking Screenshots on iOS
Apple mobile devices have simplified the process of taking screenshots as well. For newer models, pressing ‘Side + Volume Up’ acts as the keyboard shortcut for screenshot. For older models with a physical home button, the combination of ‘Home + Power’ will achieve the same results. Users should remember that these shortcuts provide immediate access to a screenshot, leading to better organization and sharing capability within files.
Key Takeaways
- Master keyboard shortcuts for effective screenshotting across various platforms.
- Utilize built-in tools and software for editing and annotating screenshots.
- Capture screenshots on mobile devices using specific button combinations relevant to each operating system.
- Explore third-party applications for advanced screenshot capabilities.
FAQ
1. What is the easiest way to take a screenshot on Windows?
The easiest way to take a screenshot on Windows is to use the ‘Windows Key + Print Screen’ shortcut, capturing the entire screen and saving it directly to your Pictures folder.
2. Can you use keyboard shortcuts for screenshots on a Chromebook?
Yes! On a Chromebook, you can capture the entire screen by pressing ‘Ctrl + Show windows’ or take a partial screenshot using ‘Ctrl + Shift + Show windows’.
3. How do I annotate a screenshot on Mac?
On Mac, you can annotate a screenshot by using the built-in Preview app or Markup tool, allowing you to add text, shapes, and drawings after capturing your image.
4. What formats can I save my screenshots in?
Generally, screenshots can be saved in JPEG or PNG formats, with JPEG being suitable for photographs and PNG preferred for text and graphics.
5. Are there any tools recommended for taking advanced screenshots?
Yes, tools like Snagit and Lightshot not only facilitate capturing screenshots but also provide editing features and cloud sharing options, making them ideal for more detailed needs.
6. Can I take a screenshot on my Android tablet?
Absolutely! Most Android tablets allow you to take a screenshot by pressing the power button and the volume down button simultaneously.
7. What keyboard combination should I use to take a screenshot on iOS devices?
On iOS devices, pressing the side button and the volume up button will effectively capture a screenshot.
By familiarizing yourself with these key techniques and built-in shortcuts, taking screenshots effectively can become second nature. Whether for professional or personal use, mastering screenshots will undoubtedly enhance your digital communication skills!