Smart Ways to Create Labels in Word for Your Home Office
Creating effective labels in your home office can greatly improve organization, facilitate easy navigation, and enhance the overall aesthetics of your workspace. In this comprehensive guide, you’ll learn various strategies to create labels in Word, leveraging Microsoft Word’s powerful features. Whether you need address labels, product labels, or custom designs, this article will provide you with all the information required, so you can get started today.
Understanding Word Label Options
Before diving into the specifics of how to create labels in Word, it’s crucial to grasp the diversity of Word label options available. Microsoft Word provides a variety of templates that can be used for different labeling needs, including shipping and mailing labels. These predefined templates help streamline the label printing process by allowing you to simply input your information into the placeholder fields, saving you valuable time.
Using Word Label Templates
One of the easiest ways to design labels in Word is by utilizing the pre-existing templates. You can access these by going to the ‘Mailings’ tab and selecting ‘Labels.’ From there, choose ‘Options’ to find different sizes and styles. The various templates available align with common label sizes, allowing you to print neatly aligned labels without any hassle. Adjust the label size settings in Word as per your specific requirements, ensuring that your labels fit your intended design and layout.
Customizing Label Settings in Word
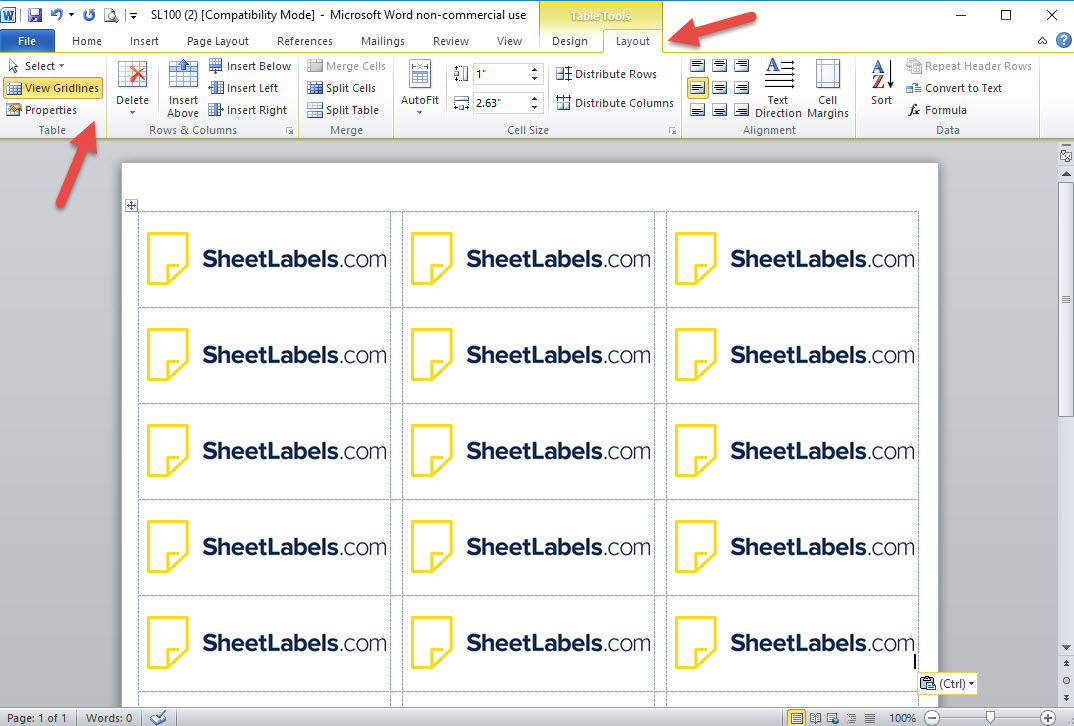
If the available templates do not meet your needs, customizing label settings in Word is a straightforward task. Navigate to the ‘File’ menu and select ‘New’ to start with a blank document. From there, adjust the page layout properties specific to your label size. You can set margins, choose whether to have a border around your labels, and even alter the orientation. This method allows you to create custom labels in Word tailored specifically to your project.
Mail Merge for Automated Labels
One of the standout features of Microsoft Word is the Mail Merge function, which enables you to create multiple labels while integrating data from Excel. This method is incredibly useful for creating bulk labels in Word efficiently. Start by compiling your data (for instance, addresses) in an Excel spreadsheet, then reimport that data into Word. Via the ‘Mailings’ tab, select ‘Start Mail Merge’ and choose ‘Labels.’ This automation drastically reduces the chance of errors and makes producing large batches simpler.
By understanding these Word label options, you can better navigate the software to produce professional-grade labels tailored to your exact specifications, fueling productivity at your home office.
Creating Address Labels in Microsoft Word
When it comes to creating address labels in Word, organization is key. Address labels are essential not only for sending mail but also for keeping packages in order. A well-designed label with clear text can prevent confusion and ensure that mail reaches the correct destination. Below, we’ll explore efficient methods to design and print address labels quickly.
Inputting Address Information
The initial step in work with address printing in Word is populating your label with the correct information. In the ‘Mailings’ tab, simply choose ‘Labels’ and input each address manually if you’re working with a small number. For larger lists, consider using Mail Merge as discussed previously. Additionally, remember to format the text—select fonts that are easy to read and consider using bold for the recipient’s name. You can select label formats such as Avery-compatible options, ensuring you have seamless alignment during printing.
Adjusting Labels for Size and Layout
Different addresses may require different formats, especially if mailing internationally. When adjusting labels in Word, it’s pivotal to select the correct label size. In the labels dialog, you can tailor the template settings. For instance, changing the number of rows and columns will make room for larger addresses without compromising legibility. Additionally, ensure that your printer settings align with the layout you have chosen, reducing paper wastage due to misalignment.
Printing and Final Touches
Once your labels are ready, perform a trial print on plain paper to ensure that everything lines up properly before executing on your actual label paper. Most printers have settings specifically for label printing; setting your printer to this option will help a lot. If you wish to add a personal touch, consider a border design or a colored background to make your address labels visually appealing. Using Word design features, you can style your labels however you desire.
In creating effective address labels, the balance between functionality and design is essential for smooth labeling processes.
Designing Product Labels with Word
Whether for homemade products or professional items, designing eye-catching product labels in Word can elevate your branding. Words can communicate a lot to a customer when they’re looking at your product on a shelf. Below, you’ll find tips on how to successfully create these labels.
Custom Branding Elements
Creating product labels involves more than just text. Incorporate visual elements that align with your brand’s identity. Use the Design tools in Word like shapes, colors, and images that reflect your product. For instance, if you are creating a homemade jam label, consider using fruit images and playful fonts. You can easily import graphics and use Word’s built-in tools to adjust them to fit within your label design.
Incorporating Barcode Labels
Many products require barcoding for sales and cataloging, and you can generate barcode labels easily through Word. Use a barcode font in Word or an online barcode generator to create this essential feature. Once generated, simply paste the barcode into your label document, adjusting the size as needed. Ensure your barcodes are placed in an area of the label that is not obstructed by other elements, emphasizing them as important identifiers. This method simplifies inventory management and enhances efficiency.
Exporting and Printing Your Designs
When your product labels are complete, you might want to export them for printing. Utilize Word’s built-in PDF export tool to save your designs in high quality. This form allows for professional-grade printing while retaining the integrity of your design. Depending on your printer, select optimal print settings that cater to glossy label paper, preserving color vibrancy and text clarity.
Creating product labels in Word empowers you with flexibility and control. By applying your unique style, you can make your product stand out on the shelf while maintaining professional standards.
Streamlining Label Creation in Your Home Office
Streamlining the process of creating labels easily in Word is achievable with strategic setups and practice. Leveraging Microsoft Word’s diverse labeling capabilities can transform a mundane task into an enjoyable and productive workflow. Below are some strategies to simplify and accelerate label creation.
Utilizing the Label Wizard in Word
The label wizard in Word is designed to guide users through the setup process for labels. Starting from the ‘Mailings’ section and selecting ‘Labels,’ allows you to customize your settings easily with prompts that show available options. Following the wizard will help you master other features over time and eliminate common mistakes beginners make in their setups. Regular practice will enhance your comfort level with various options Word offers for labels.
Creating Templates for Future Use
Once you design a labeling solution that works, save it as a template. This effort significantly reduces the time spent on initial setups and can be reused with slight modifications over time. You can create customizable templates for address labels, product labels, and various applications that come up frequently. This proactive method not only saves time but also ensures consistency across your home office labeling endeavors.
Exploring Third-Party Add-Ons
Consider integrating Microsoft Word with label printing add-ons or software that can enhance the label-making process. Certain applications offer additional design capabilities not found in Word, such as more complex templates and integration with e-commerce functionalities. By pairing Word with specific add-ons, you can significantly optimize design and production and address unique needs to improve your label workflow in Word.
Through these strategies, you can achieve a streamlined and efficient process for label creation that saves time and enhances output quality.
Key Takeaways
- Utilize Word’s templates and Mail Merge feature for efficient label output.
- Customize labels creatively to reflect your brand, or clearly communicate information.
- Use the Label Wizard for ease and to understand the available options in Word.
- Create customizable templates for consistent and faster label preparation.
- Integrate third-party software for advanced label design capabilities.
FAQ
1. How can I create custom sizes for labels in Word?
You can create custom sizes for labels in Word by selecting ‘Labels’ under the ‘Mailings’ tab, then choosing ‘Options’ and selecting ‘New Label’ where you can define specific dimensions for your label allowing you to tailor them to your needs.
2. Can I print labels directly from Excel to Word?
Yes, using the Mail Merge function allows you to efficiently print labels directly from Excel data into Word. After creating your Excel sheet with the necessary information, navigate to Word and follow the Mail Merge process to automate the label creation based on your data.
3. What is the best way to adjust label alignment when printing?
To adjust label alignment, ensure that you have selected the right label format that matches the label paper. Utilize ‘Print Preview’ to check alignment and adjust margins accordingly to prevent misaligned printing. Testing on plain paper helps combat printing errors before using your label sheets.
4. Are there alternative software options for label design apart from Word?
Indeed, various software options available for label design include Adobe Illustrator, Canva, and specialized label-making tools like Avery Design & Print. These may offer unique features and flexibility compared to what is available in Word.
5. Can I create barcode labels in Word?
Yes, you can create barcode labels in Word by using barcode fonts or by generating barcodes online via barcode generators, then simply importing them into your Word document for inclusion in your labels.